Info & advice
Organise your jewellery with jewellery organisers
By Victoria Cowan, 27 January 2022
Do you own so much jewellery that you no longer know where to put it all? Then it's probably time for a jewellery organiser from My Jewellery. With the handy tips from this blog, you can store all your jewellery properly and style it the way you like.


Create your own corner for your jewellery organisers
Your own jewellery corner is a dream that can come true.
1. Clear a corner of your desk to present all your displays.
2. Work with height differences for a nice effect.
3. For example, put a necklace organiser on a jewellery box and put your earrings rack in front of it.
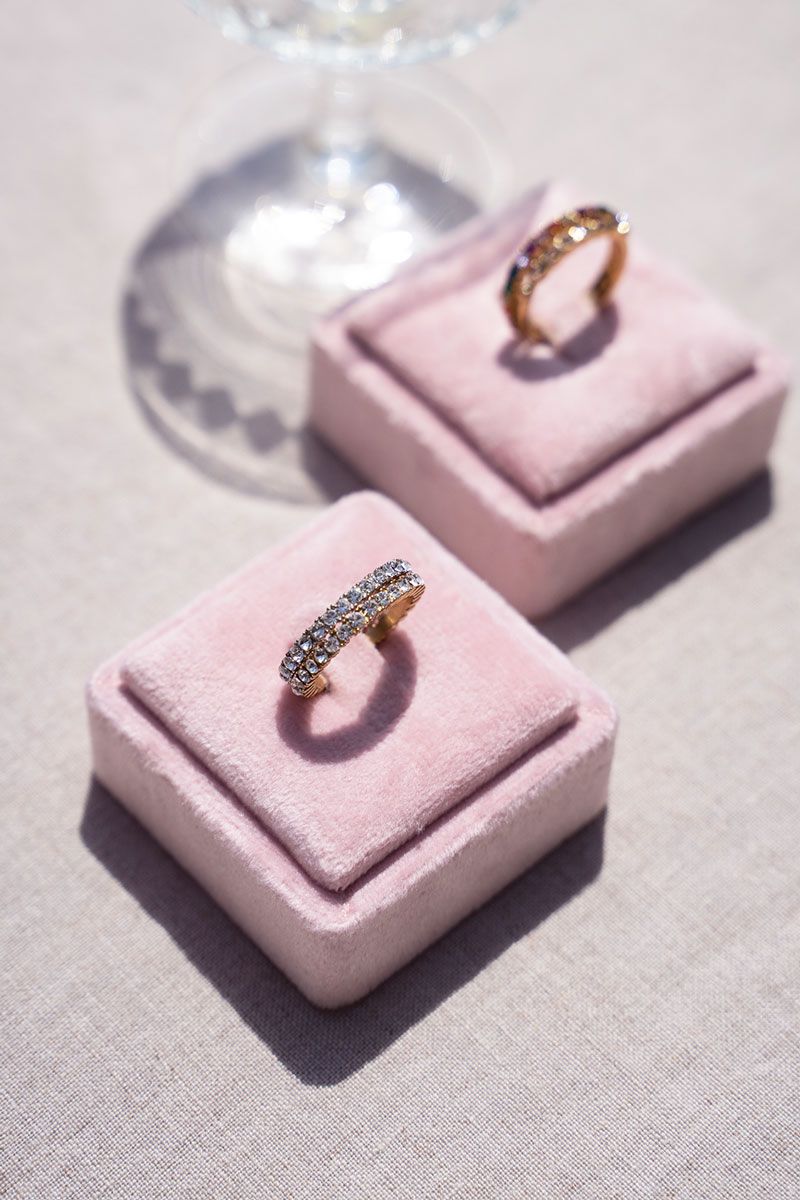
Tip: It’s also really nice to put two ring cushions in a nice glass, this creates a real, luxurious look.
4. Put another jewellery box out with cushions for your bracelets.
5. Coordinate the colours of the displays, so that everything goes together beautifully.
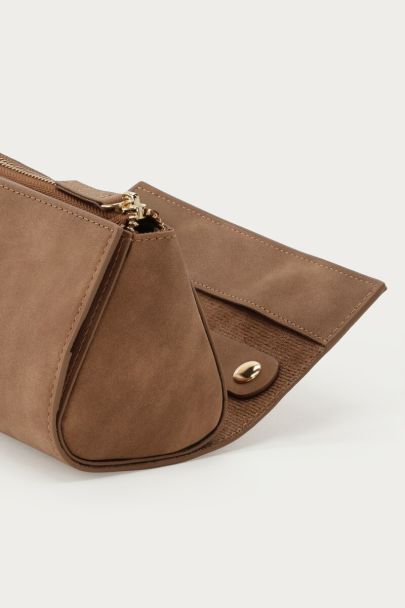
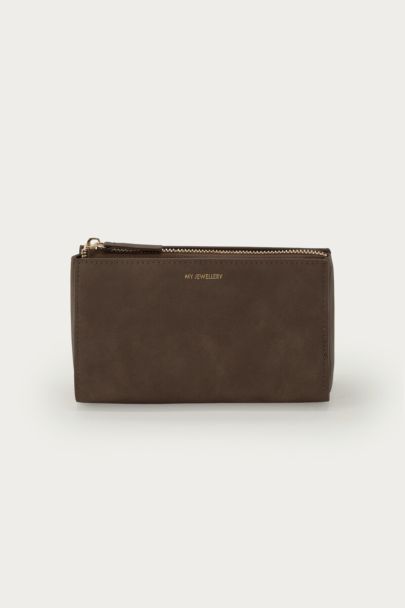
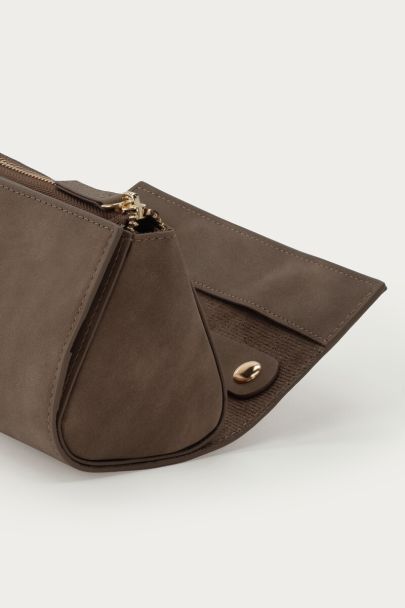
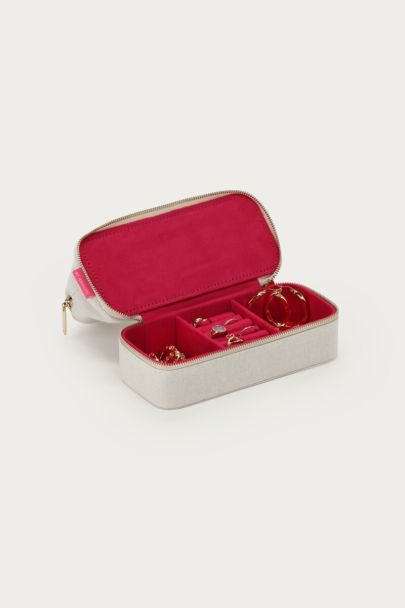
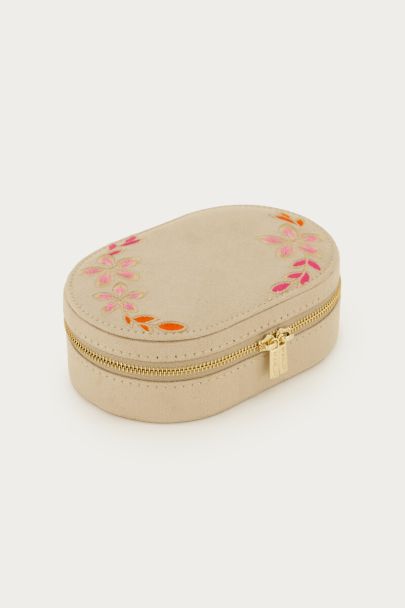
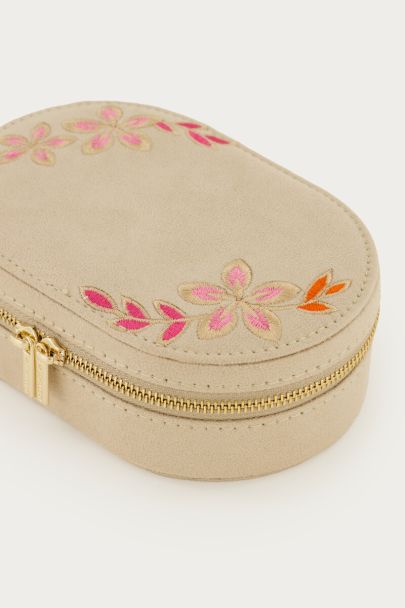
While you're on holiday it's a bit difficult to bring your display, but luckily My Jewellery has a great solution for you there too. Enter: the jewellery case! Connect your jewellery to the inside of the case and bring it along with you while you go on holiday, without them getting tangled up. How great would it be to have you favourite jewellery with you on holiday!
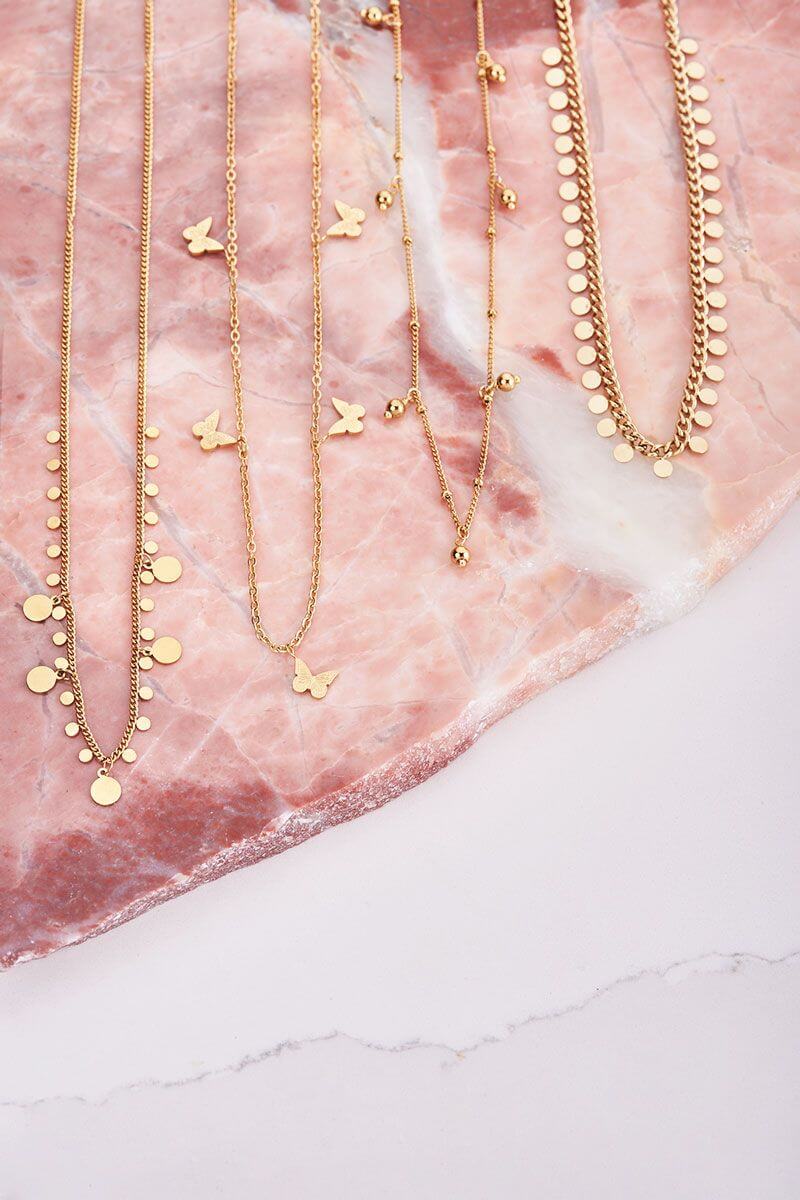
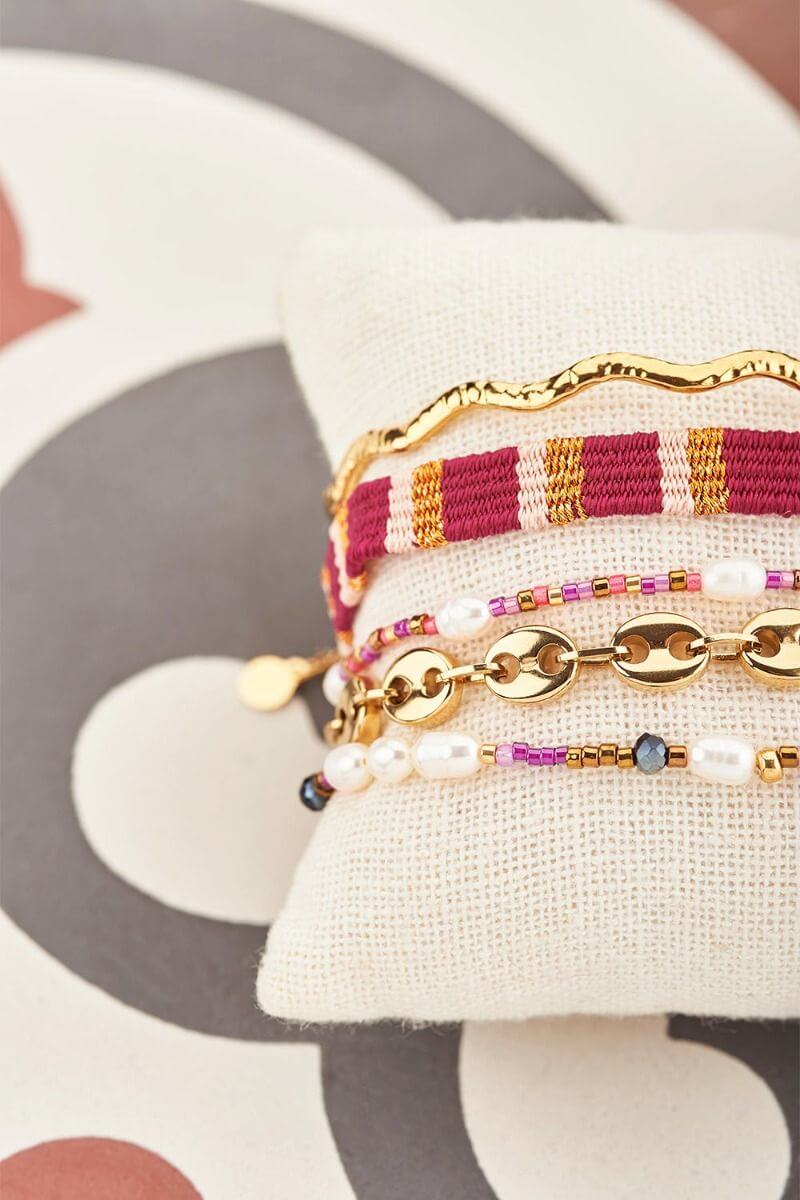
Hang up your bracelets & necklaces
Do you get frustrated when your necklaces & bracelets get all tangled up? We feel you....A necklace/bracelet organiser is the perfect thing to add to your dresser to keep them all neat and tidy. Hang up your necklaces over the arm of your organiser and you'll never again have to untangle your necklaces. This way you'll know which necklaces you've got and it's a great eye-catcher for your interior as well. Sort your necklaces based on style or in order of your favourites. Hang the longest chains at the bottom and work your way up with shorter necklaces. A jewellery storage device is easily DIY'ed with things you've already got in and around the house. Dive into your kitchen cabinets or the shed and look for things to use to create your own jewellery rack. Here's our guide to make a jewellery rack at home.
What do you need?
● Necklaces & Bracelets
● A board
● A couple of nails
● A cute paint colour
Get to work
Step 1: Look for all the necklaces and bracelets you want to organise. Based on the amount of jewellery you want to hang up, you can determine the size of the board you'll need to use.
Step 2: Head into your shed to look for a wooden board. Don't have one? Drop by the local DIY store so you can start on your project to organise your jewellery ASAP.
Step 3: Hammer a couple of nails into the board. These will become the hooks you can hang your jewellery from. Perfect to stop your jewellery from getting tangled.
Stap 4: Paint the whole thing into a fun colour: like gold or pink, hang the board onto your wall et voilà! You've just created your own organisational jewellery system. No more tangled up jewellery for you, YES!
All your earrings in one place with an earring rack
1. One glance and you've got all your earrings right in front of you.
2. An earring rack keeps you from losing all of your jewellery.
3. Organise your earrings from large to small, making it super easy to make sets to add to your earparty.
Organisation of your earring rack
Start from the top where you can place all of your small earrings, then work down until you hit the statement earrings.
No space for an earring rack?
No space for a rack, why not choose a jewellery bowl. You can easily space your earrings apart from each other, thereby avoiding chaos. Give your own twist to your stash bowl/ jewellery rack by making one yourself.
What do you need?
● A cute bowl with a lid, medium sized
● Smaller bowls (optional)
● Thick cardboard
● A needle
Get to work
Step 1: Organising your earrings can't be done without earrings. Look out all of your earrings and check that the sets are all still complete.
Step 2: To make sure you don't end up losing anymore earrings, you can easily attach your earrings to each other. It's especaiylly easy with rings which you can clasp into each other.
Step 3: Studs are a little more difficult to attach to each other. Grab a piece of cardboard and use your needle to pierce a couple of holes in it. You can now easily attach your studs to the cardboard, thereby keeping the sets together.
Step 4: Spread out all of your earrings onto the bowls you've chosen. Choose to organise them based on style or colour. Organising your earrings has just become child's play!
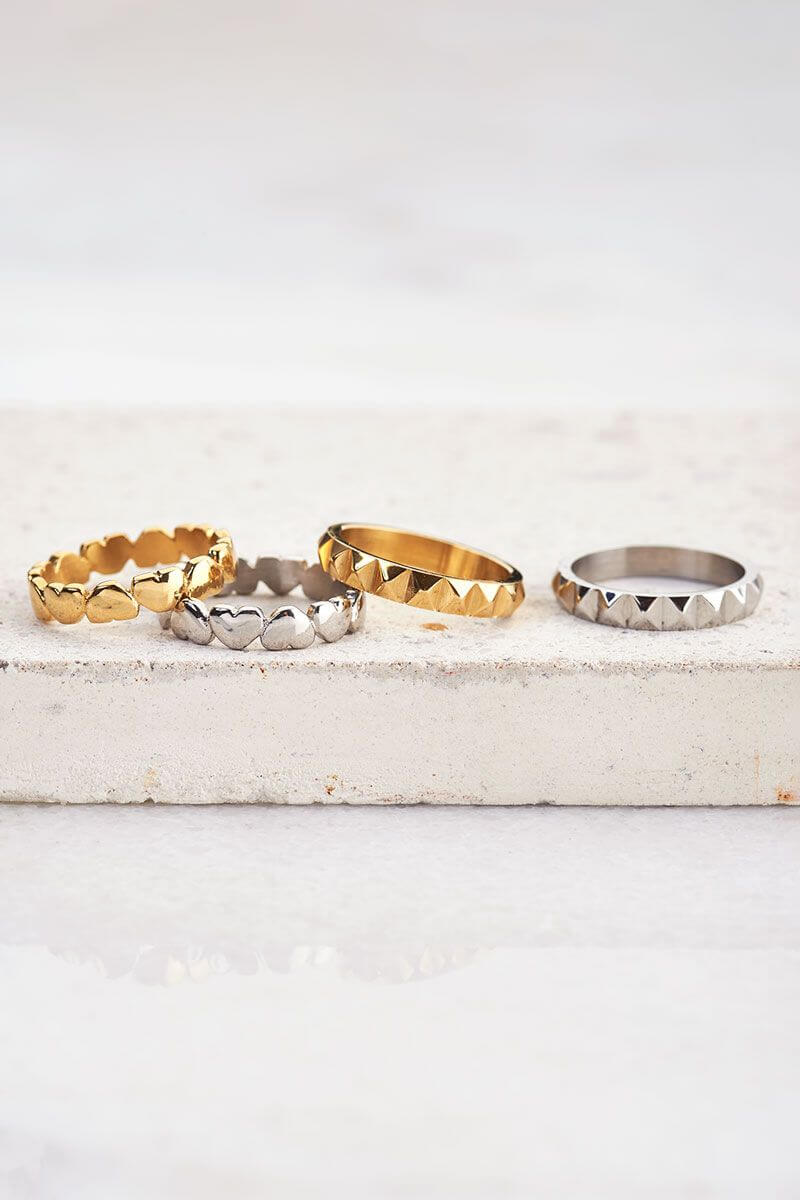
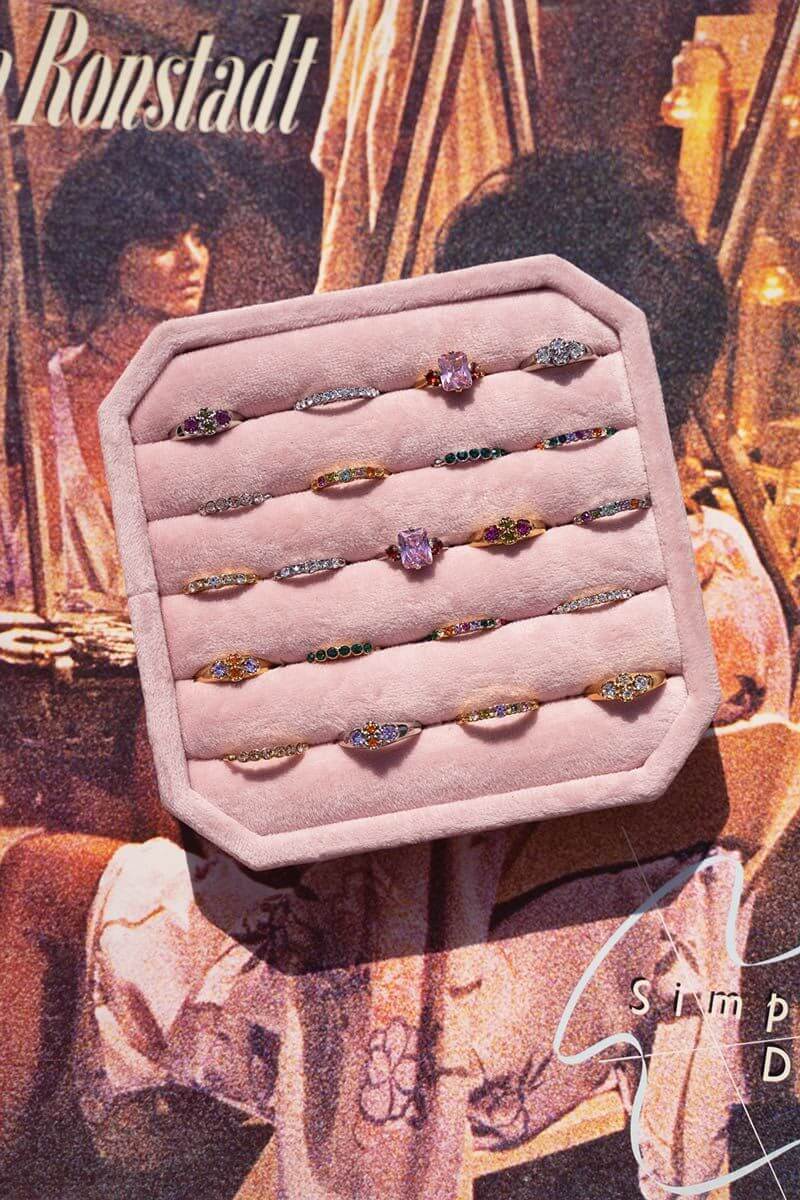
Use a jewellery organiser for rings
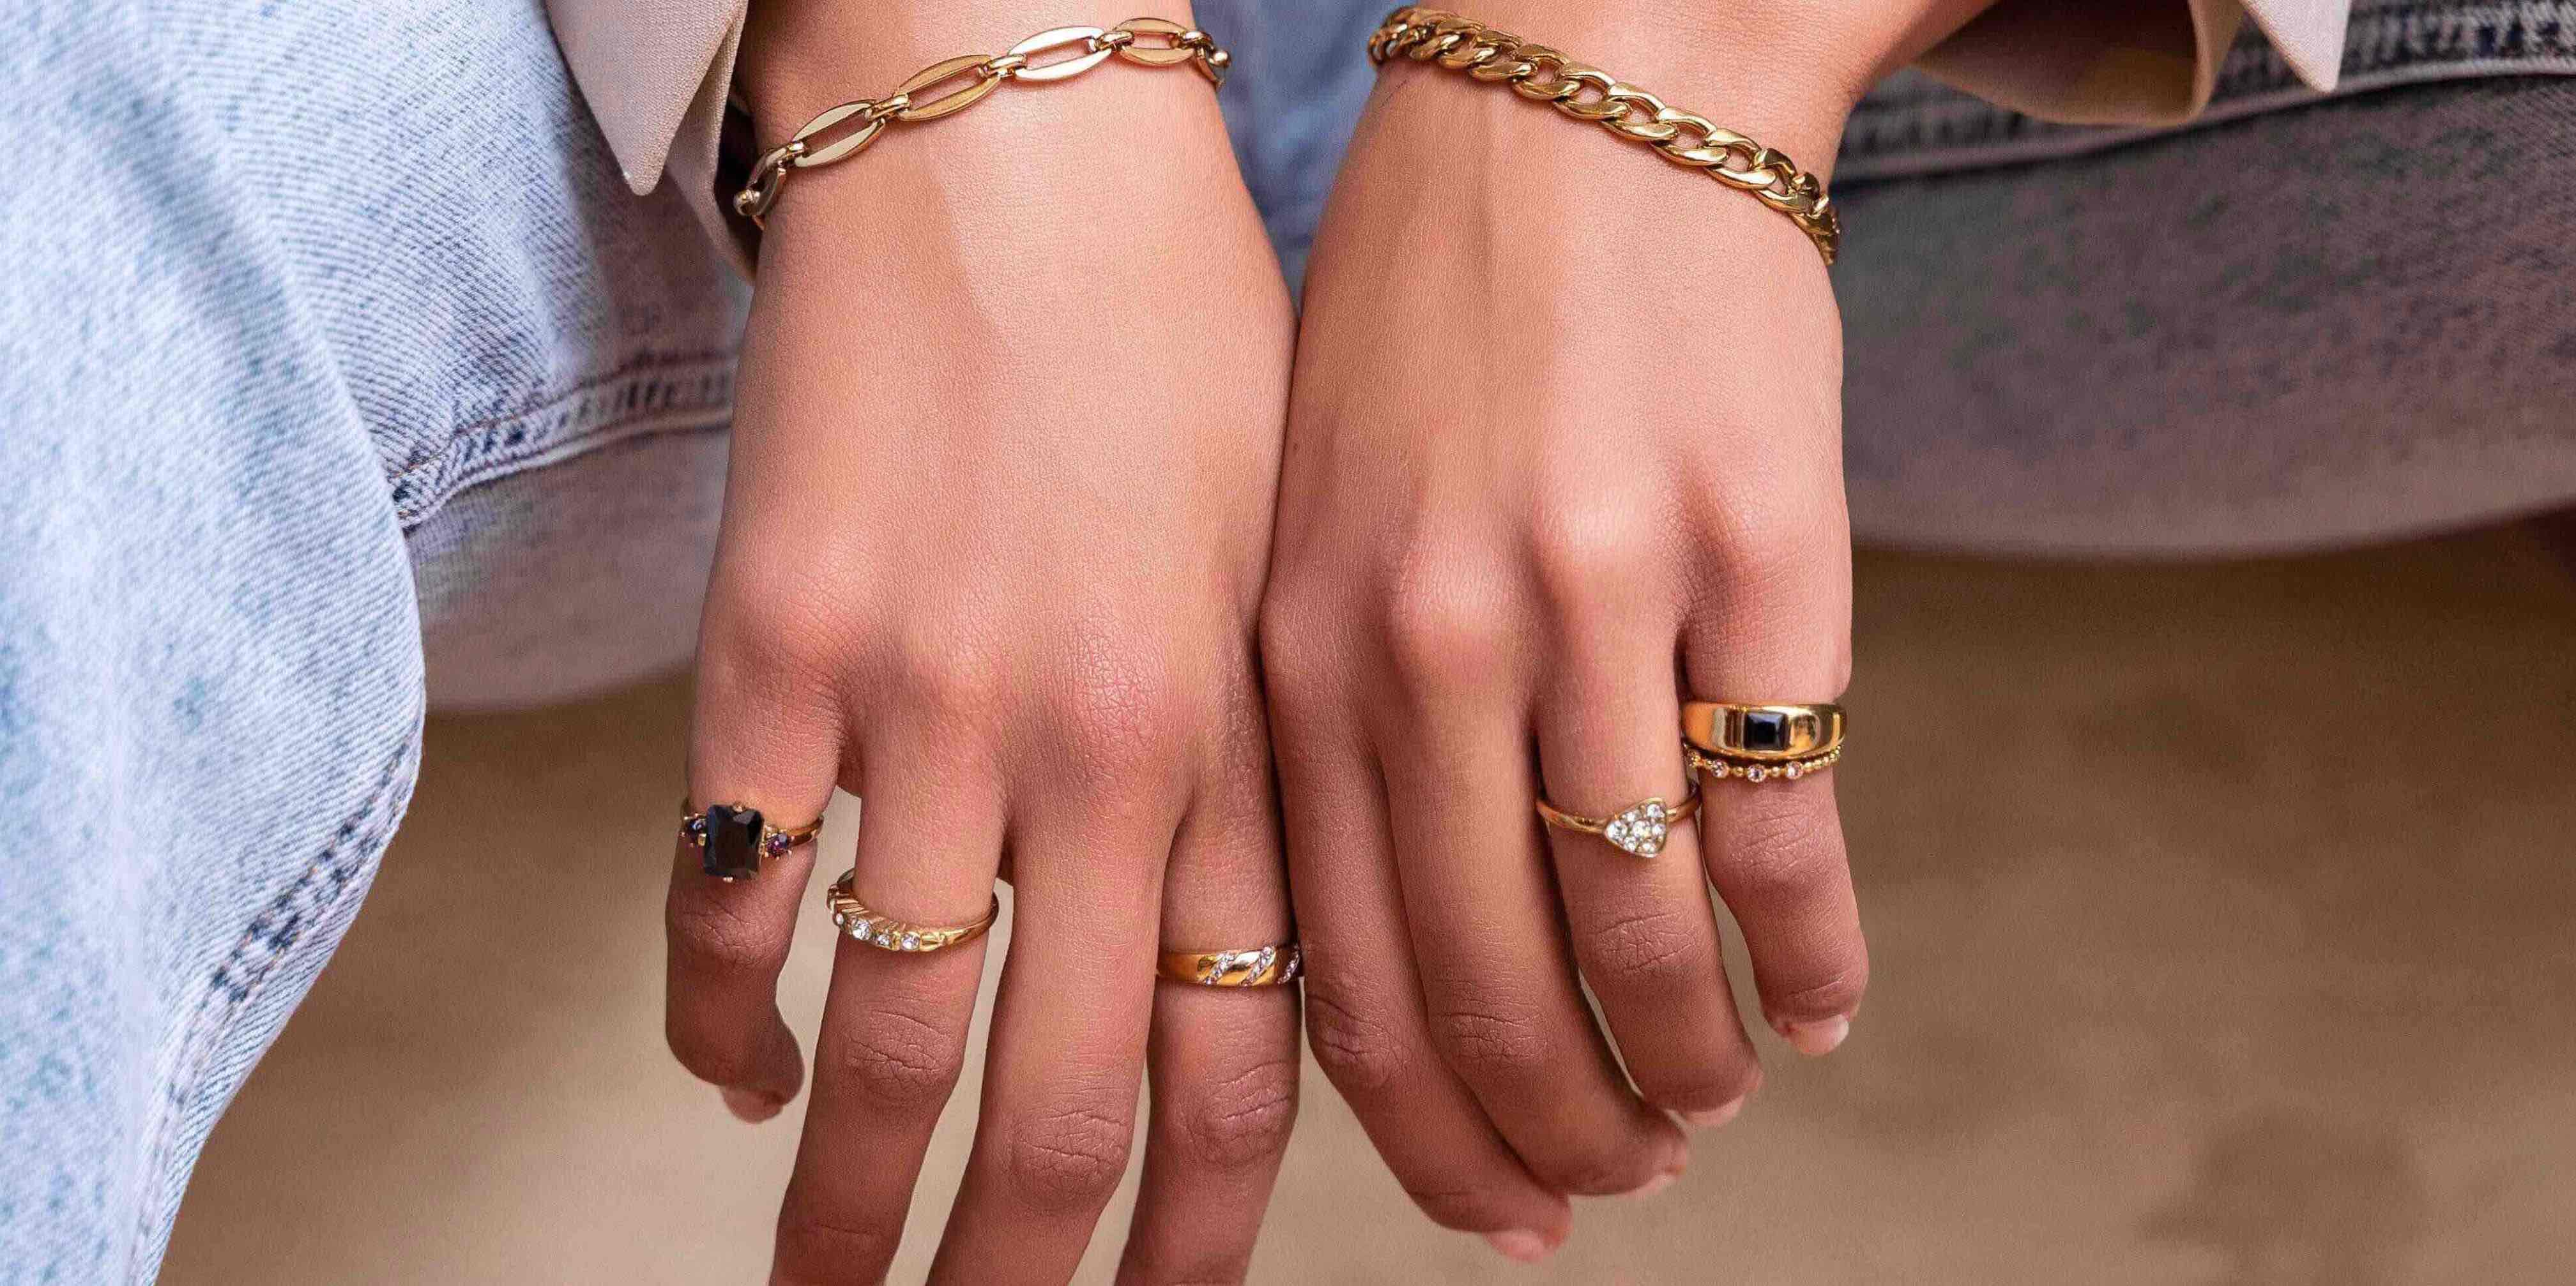
We’ve all been there, that panicky sensation when you've lost your favourite ring again.
Everyone has experienced it and yet we continue to do it. The handy ring cushions from My Jewellery solve this for you. With these cushions you can easily store all your rings & have another beautiful item for your interior.
Don't think a ring cushion works well or do you just have too many rings for one cushion?
Then we also have a jewellery box with ring cushions to make things even more organised. You can of course also choose to put several ring cushions in a glass or vase for an elegant & posh effect.
-
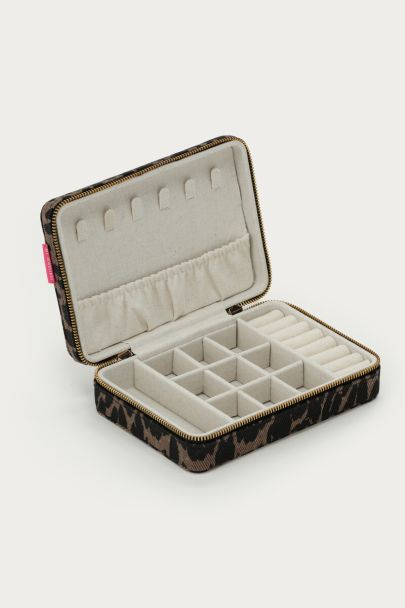 Leopard print jewellery box€39.99
 -
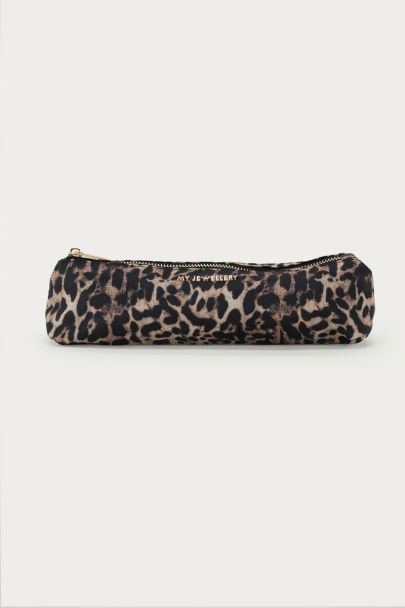
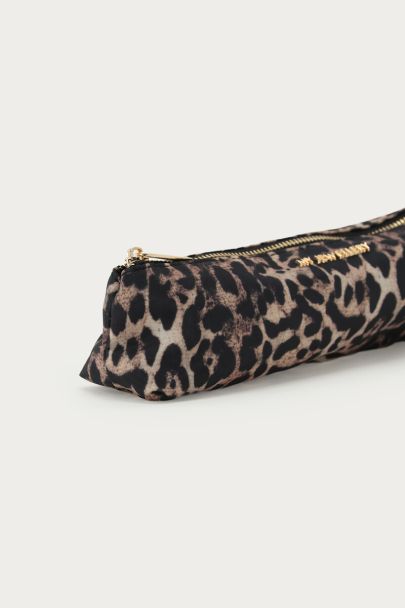 Black pencil case with leopard printAs low as €15.99
 -
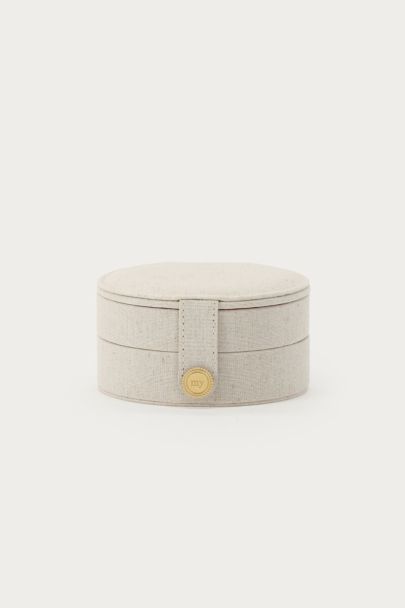
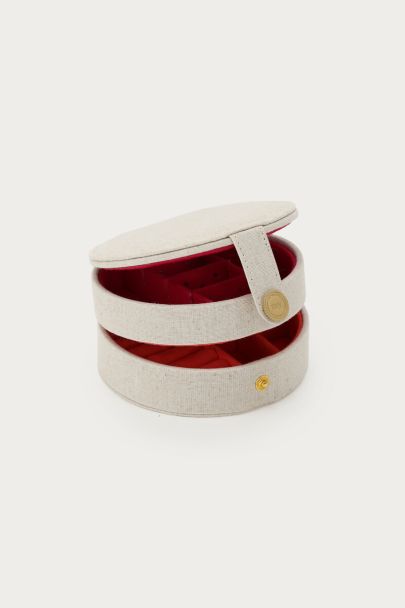 Beige round jewellery box€29.99
Enjoy this blog? Subscribe & receive the latest updates
Read more
Styling
Jewellery trends 2022
Endless styling options
Info & Advice
How to resize your steel watch strap
All the tips 'n tricks on how to resize your own watch straps